The Traveller
Hello Crafters !
Today I want to share with you this quick process video I shared on my IGTV channel.
Please note this...
The video is a quick process video. I know that it is fast, so in case you would like to see a slower version of it, you can drop me a line into the comment section or email me and I will try my best to upload a slower version.
The idea behind this video, is to simply share with you a process, it is not intended to teach you a step by step process, that is why I kept it under 3 minutes.
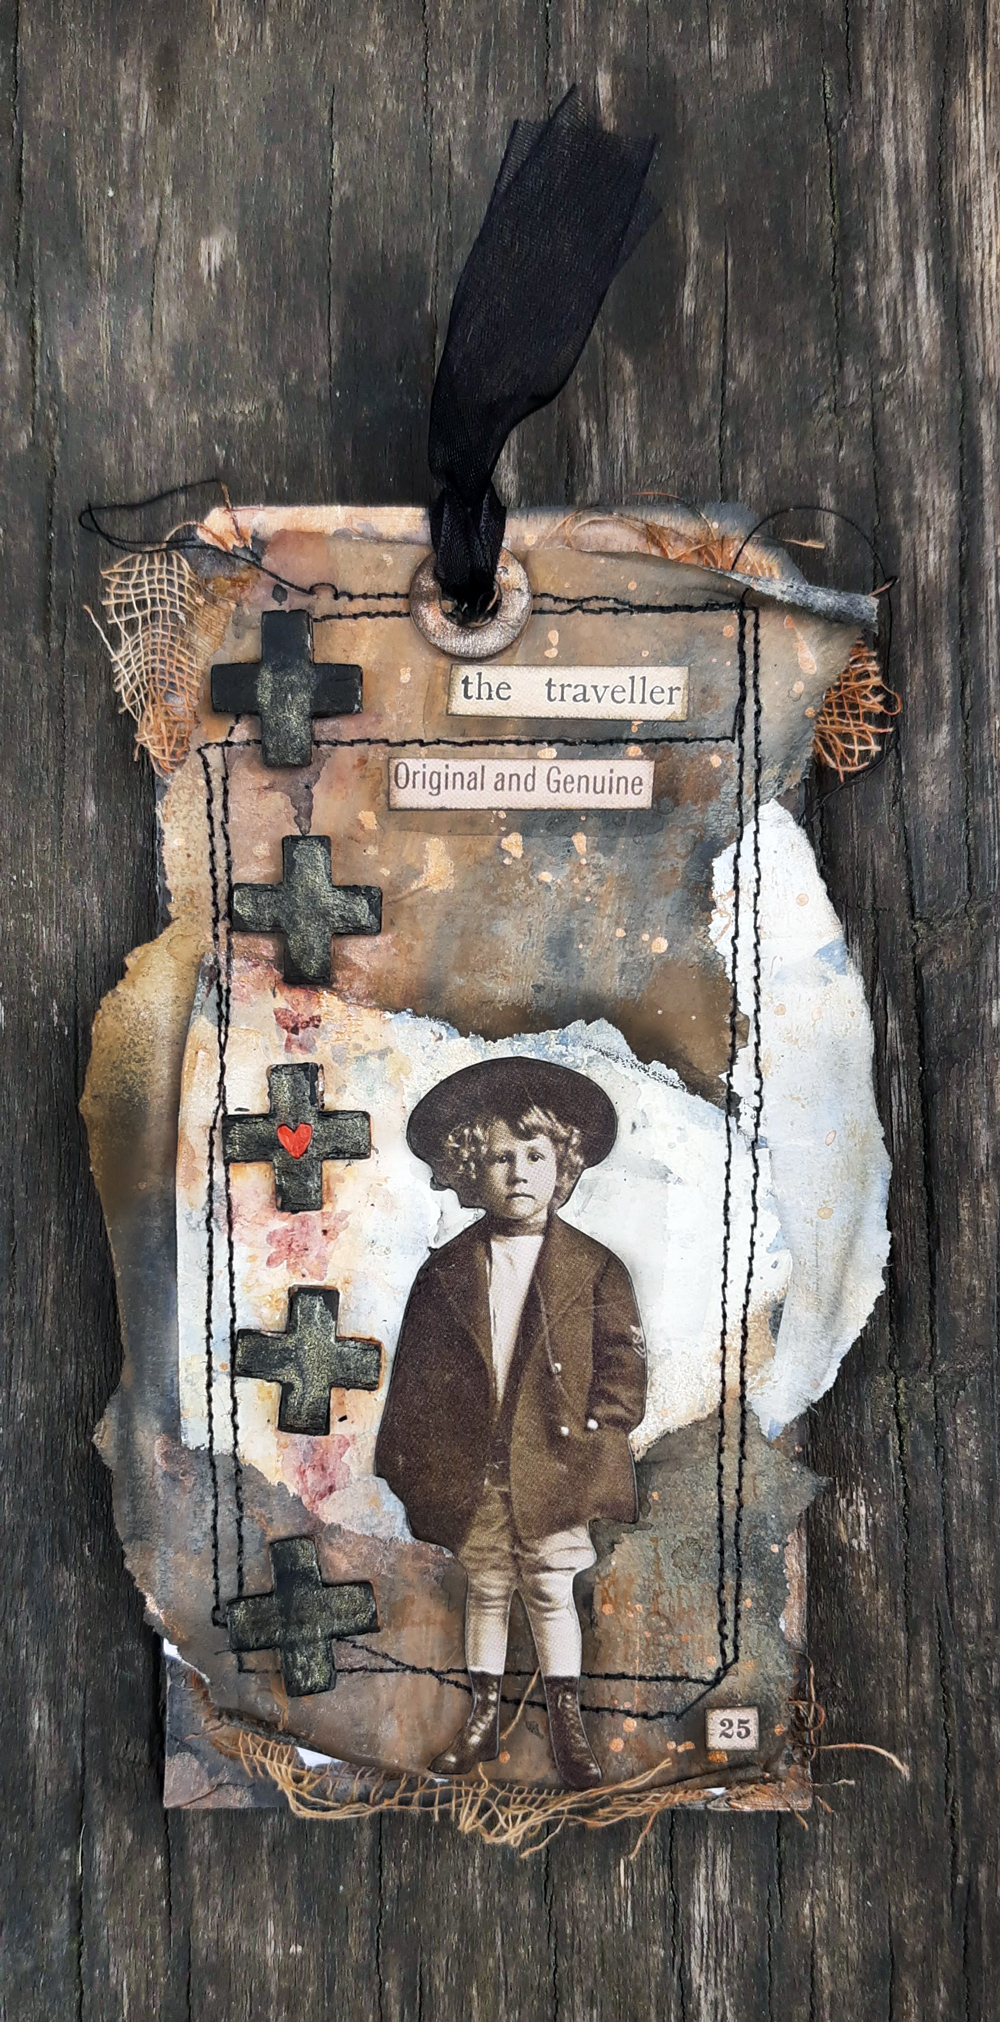
The base is Cardboard from a box and Tim Holtz Collage paper
- Cover a strip of Tim Holtz Plain Collage Paper with black acrylic paint and dry well. Cover with black acrylic paints the pieces of cardboard that will decorate the tag
- When the Plain Collage Paper is well dry, cut it into strips that will cover your background tag.
- Mix the distress paint with a bit of water. You can read the distress paint I used in the list below. I did a couple of layers till I was satisfied with the result. I dried well between layers.
- I used distress ink to highlight the sides of the strip of paper. I repeated the step before a couple of times till I achieved the rust effect I was looking for.
- Cover the tag cut out from cardboard with white gesso. I used a spatula to create more texture although I knew I was going to cover part of it. I still like to have options, just in case I change my mind LOL.
- I used Distress Paint Picket Fence over two strips of Tissue Paper from earlier the first layer I thinned it out with water, the last layer was added with a spatula to create some more texture. When dry I used a bunch of distress paint to add some more color.
- Since I used Tim Holtz Plain tissue paper, I cut a strip of cardstock and glued the pieces over it so that I could sew around it.
- I used some more distress ink to distress the edges and then I glued a strip of Mummy Cloth to create some more interest in the background.
- Last thing to do, is to glue everything together!
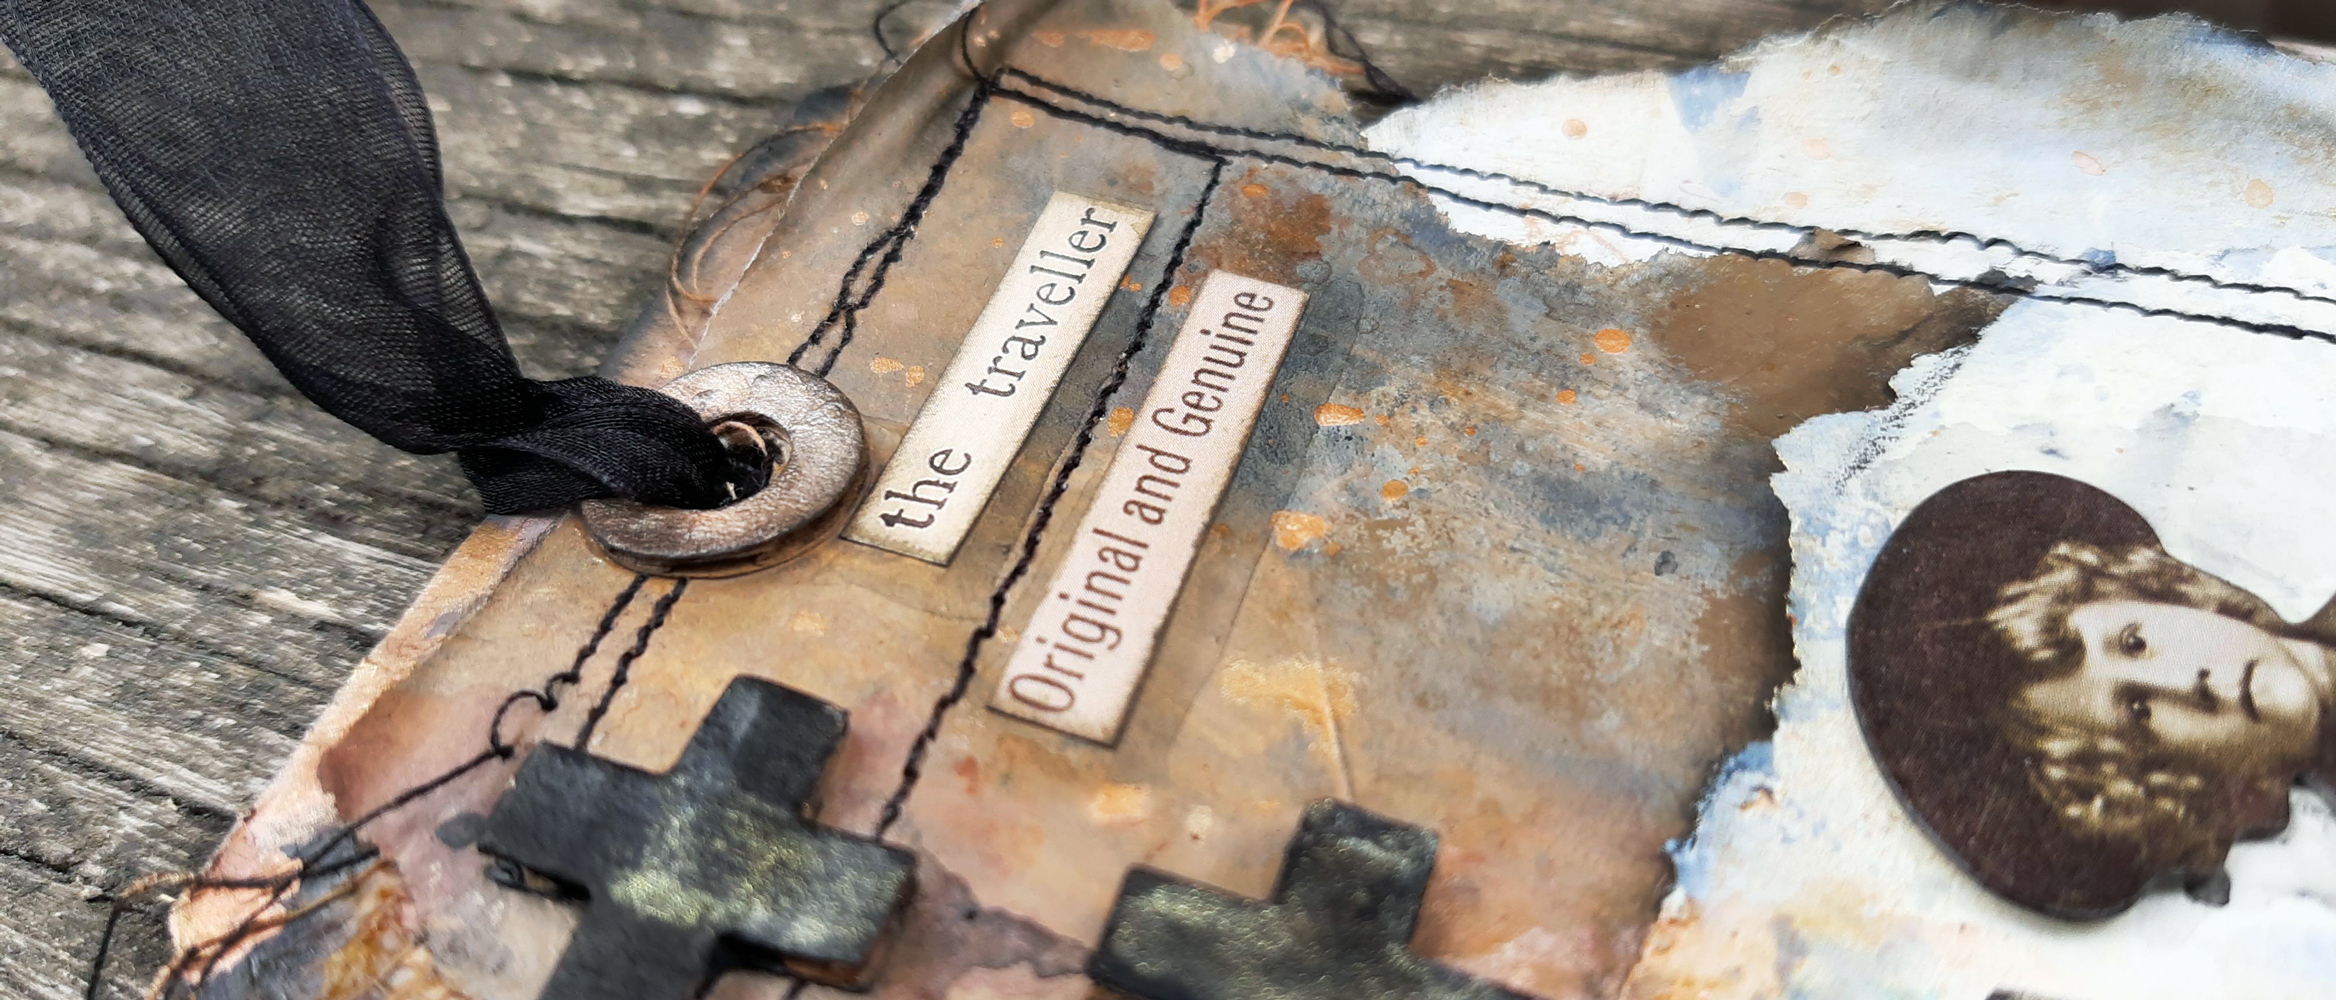
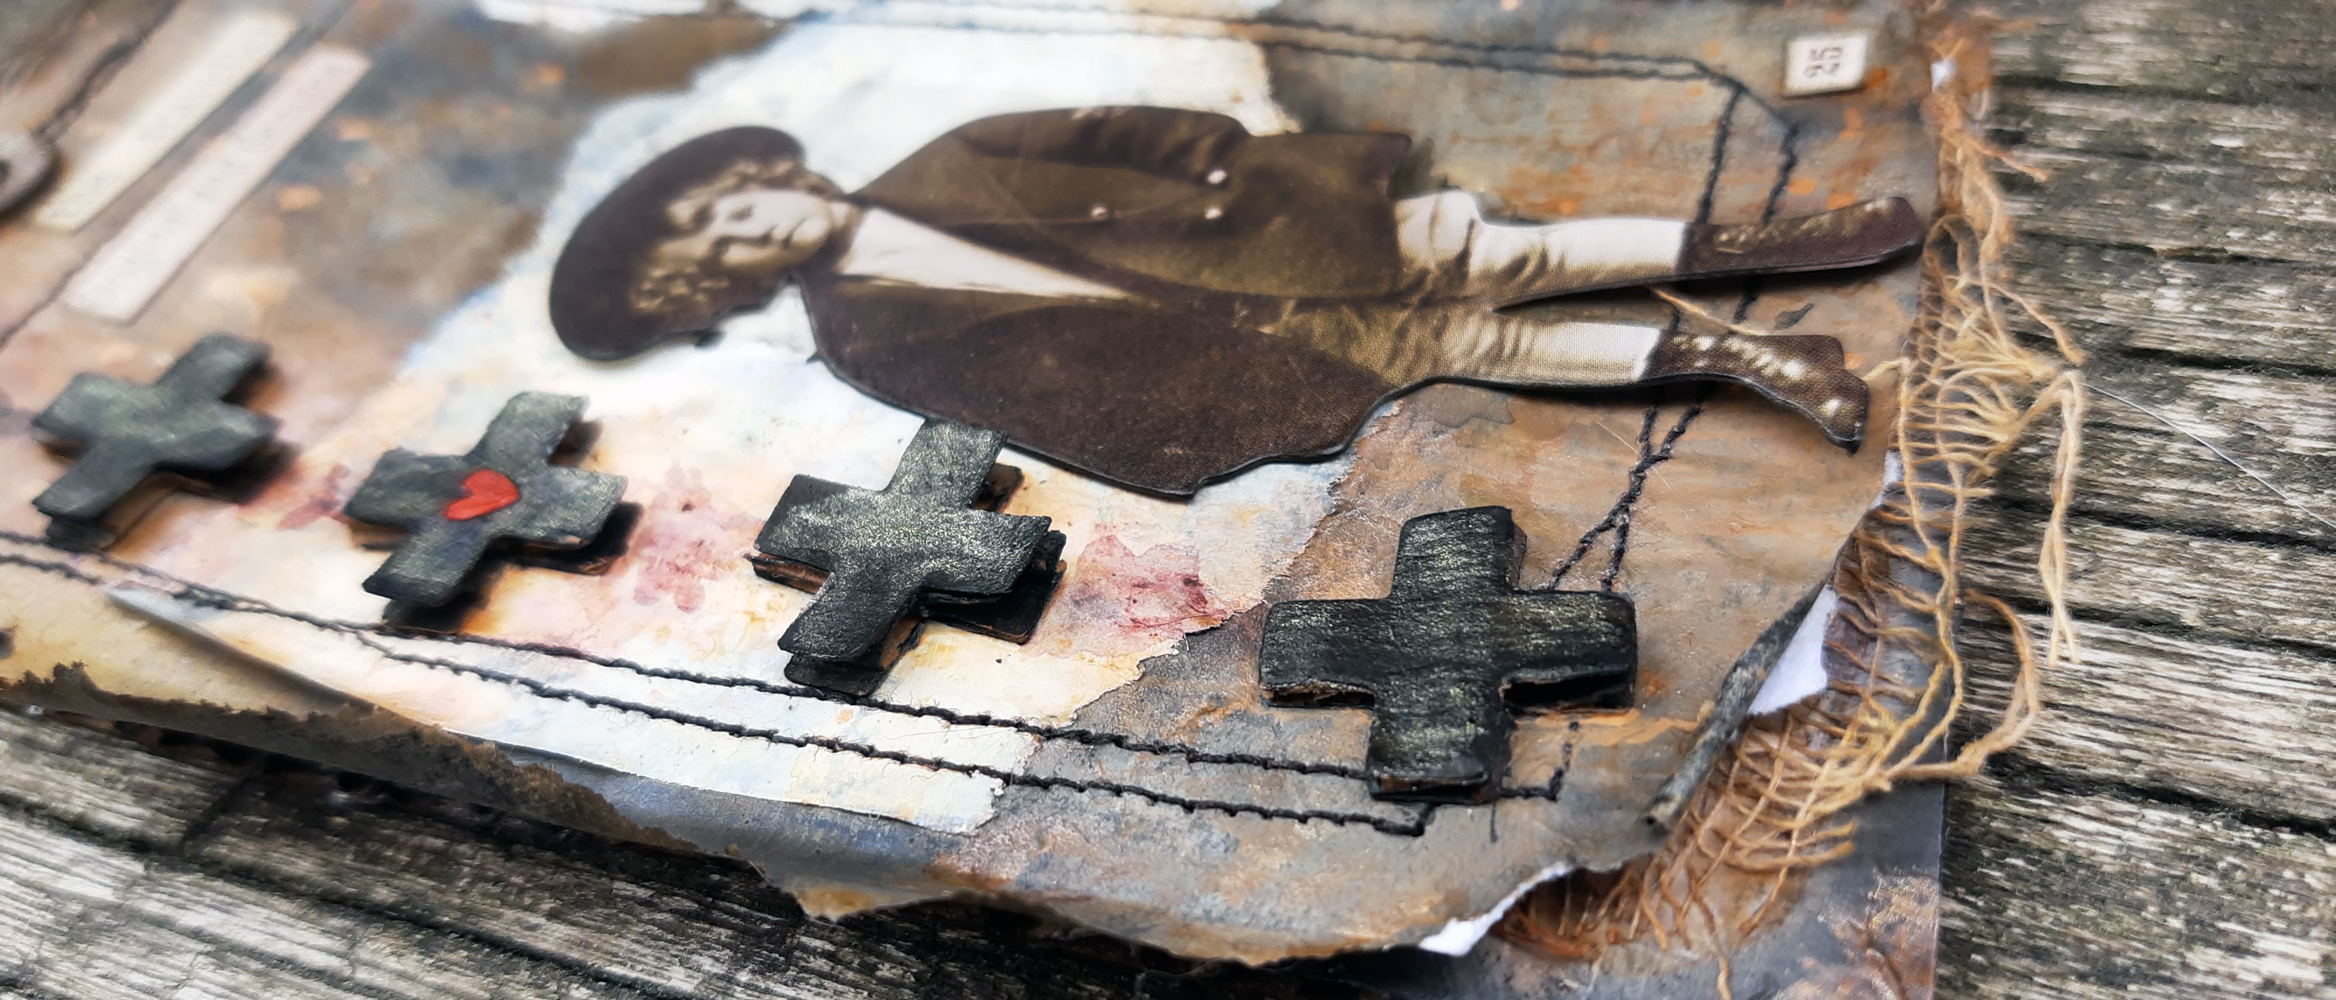
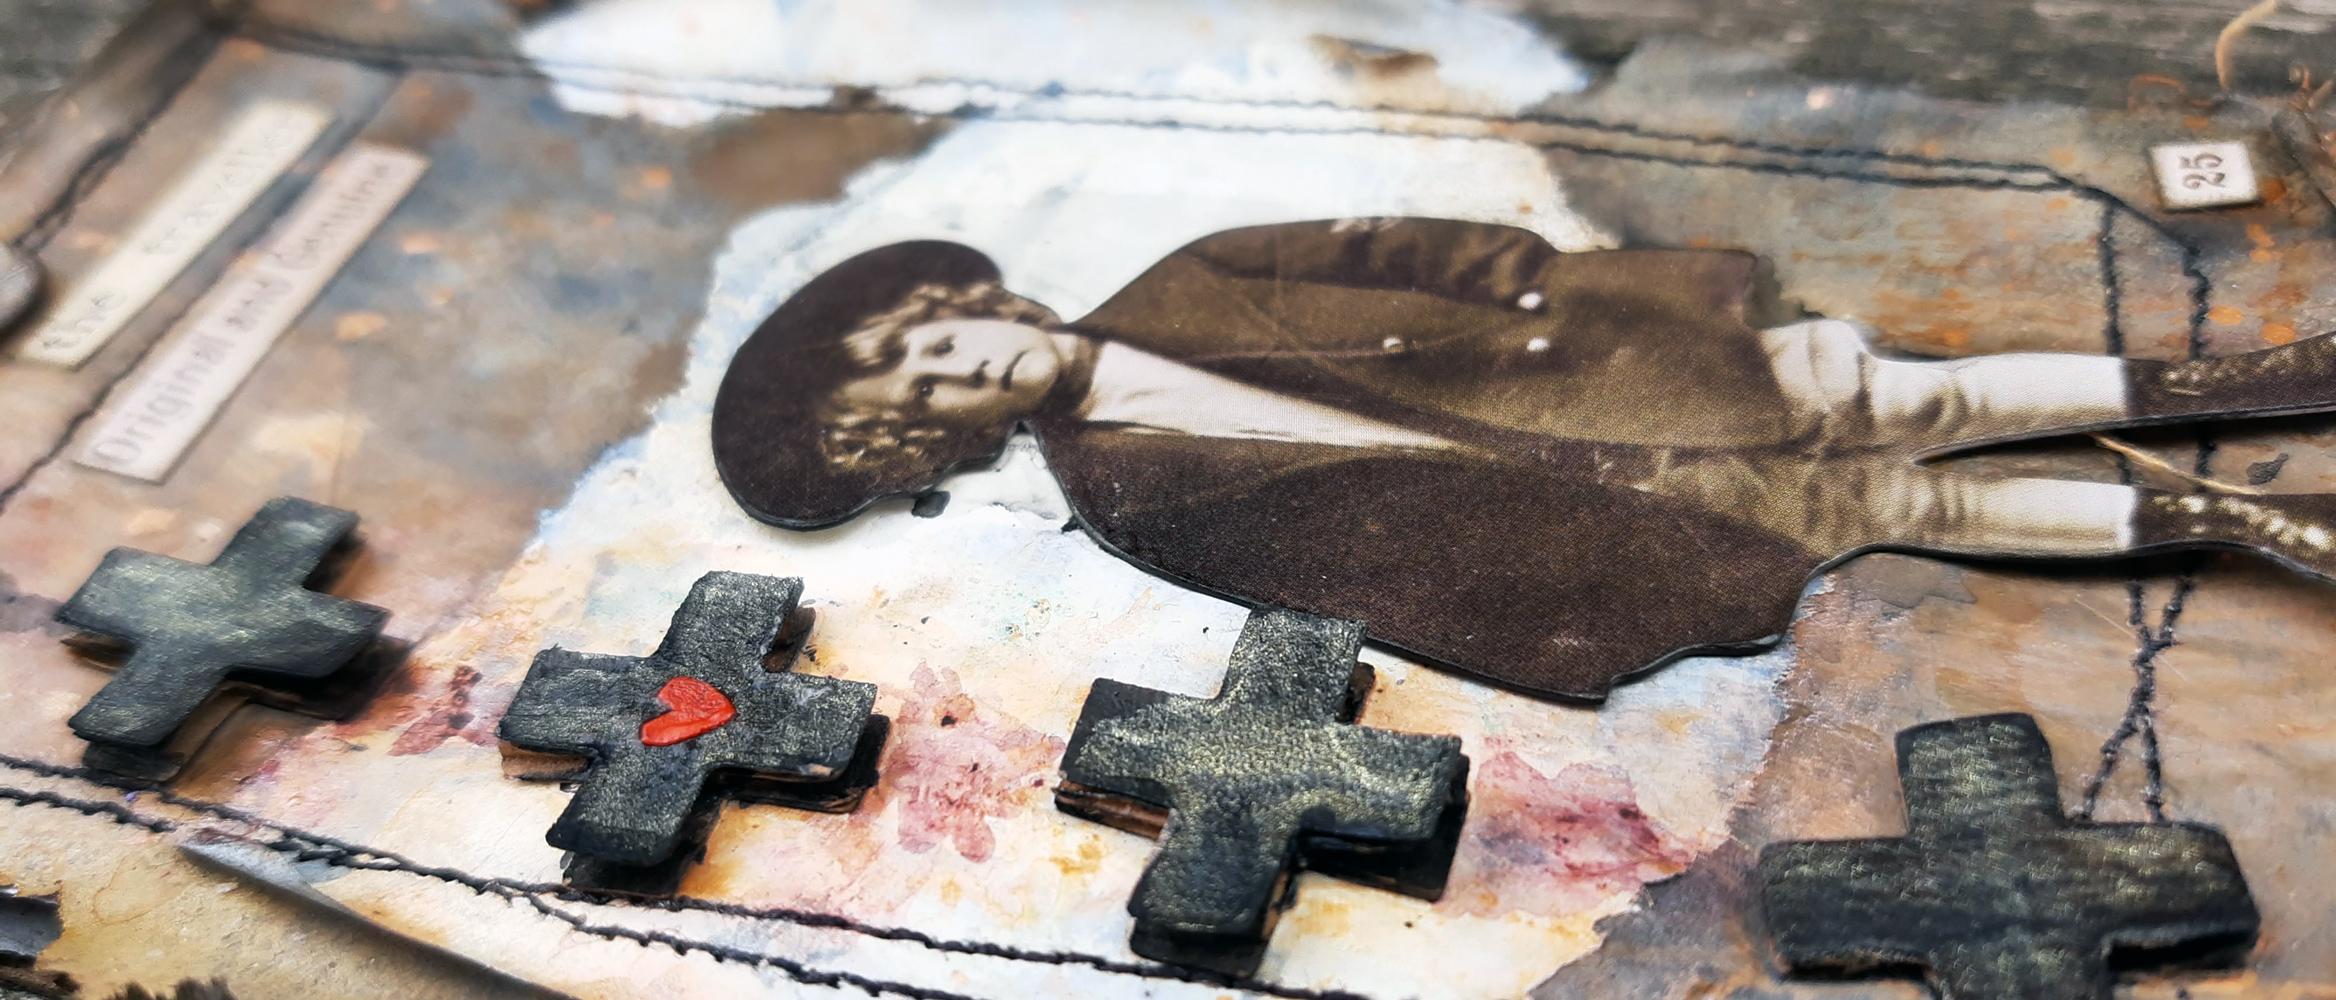
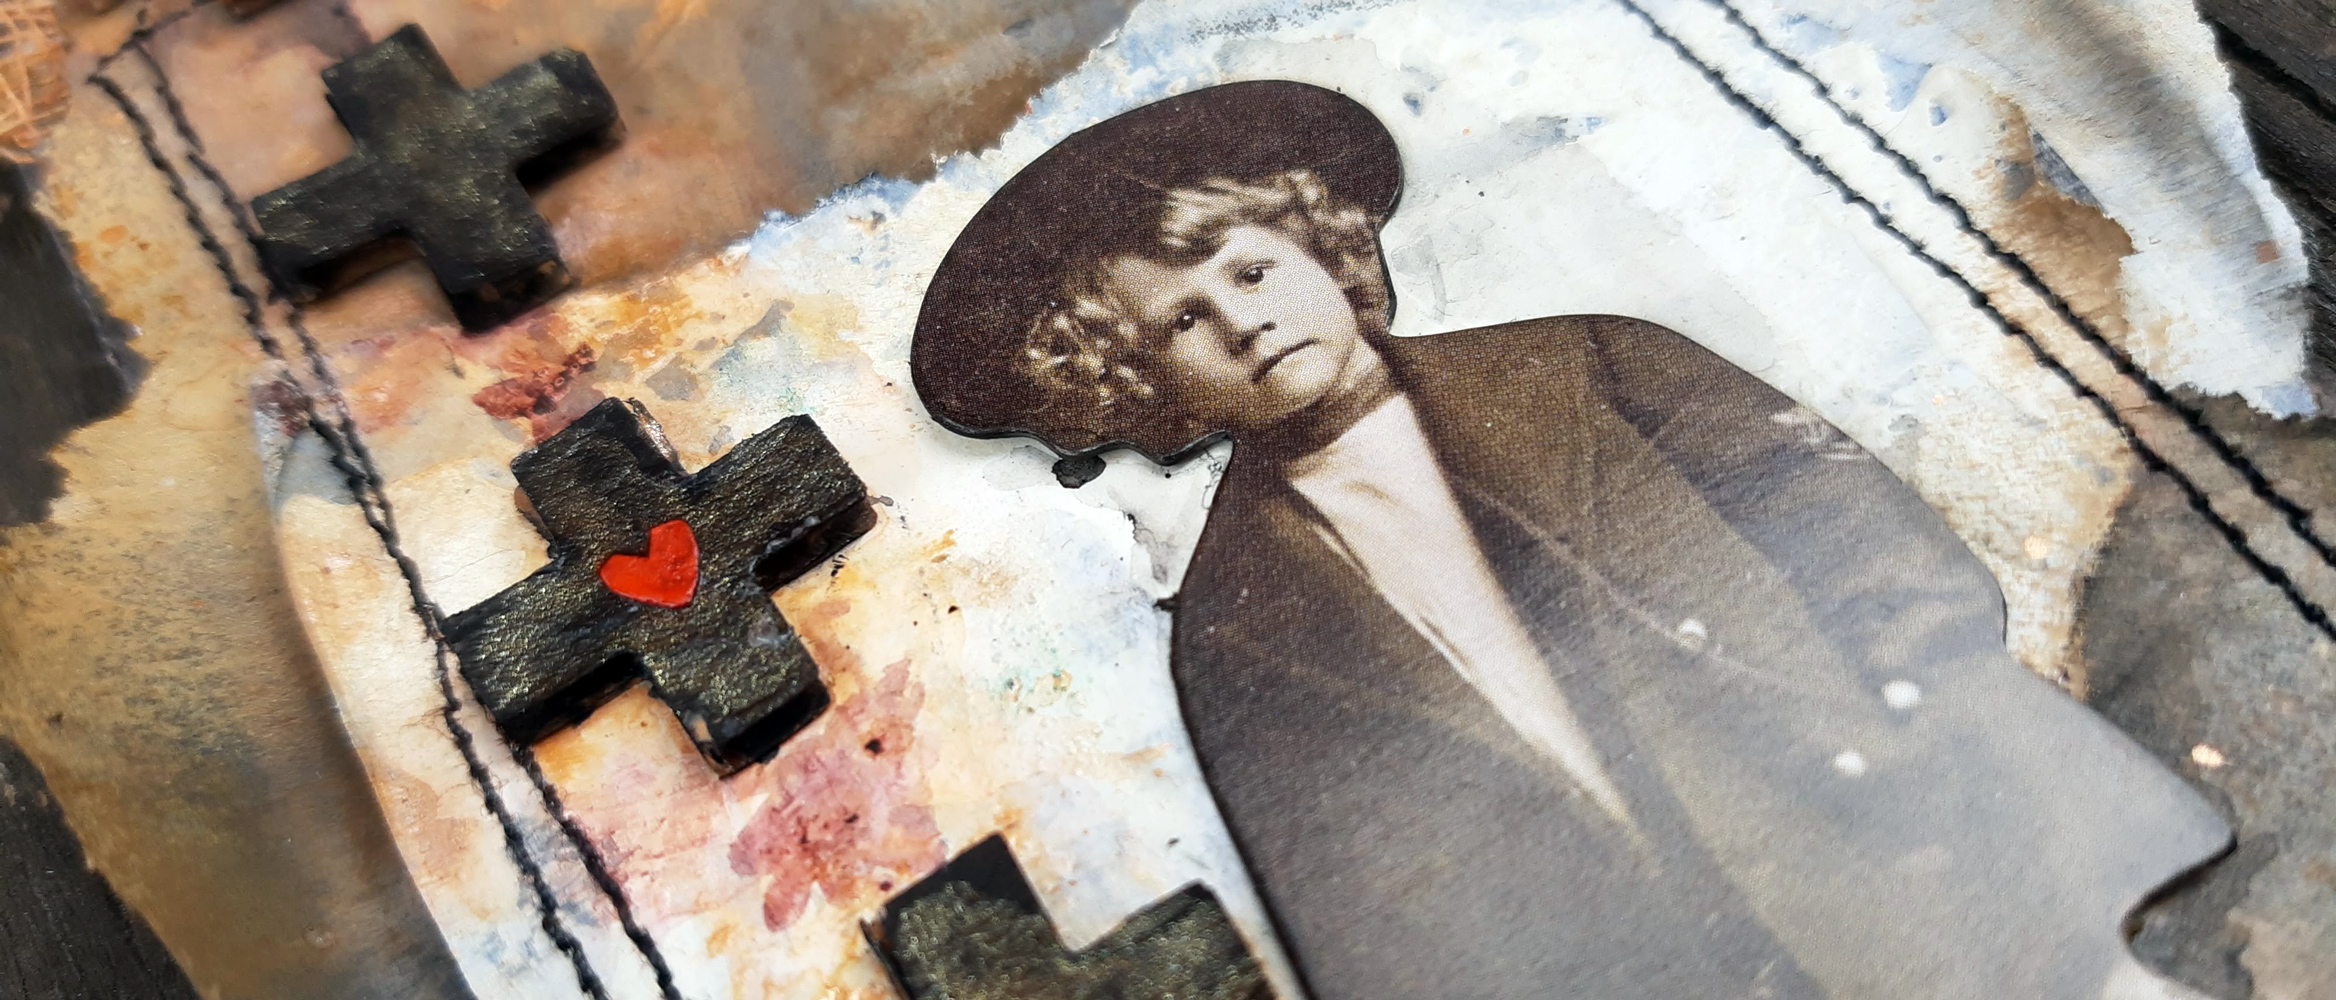
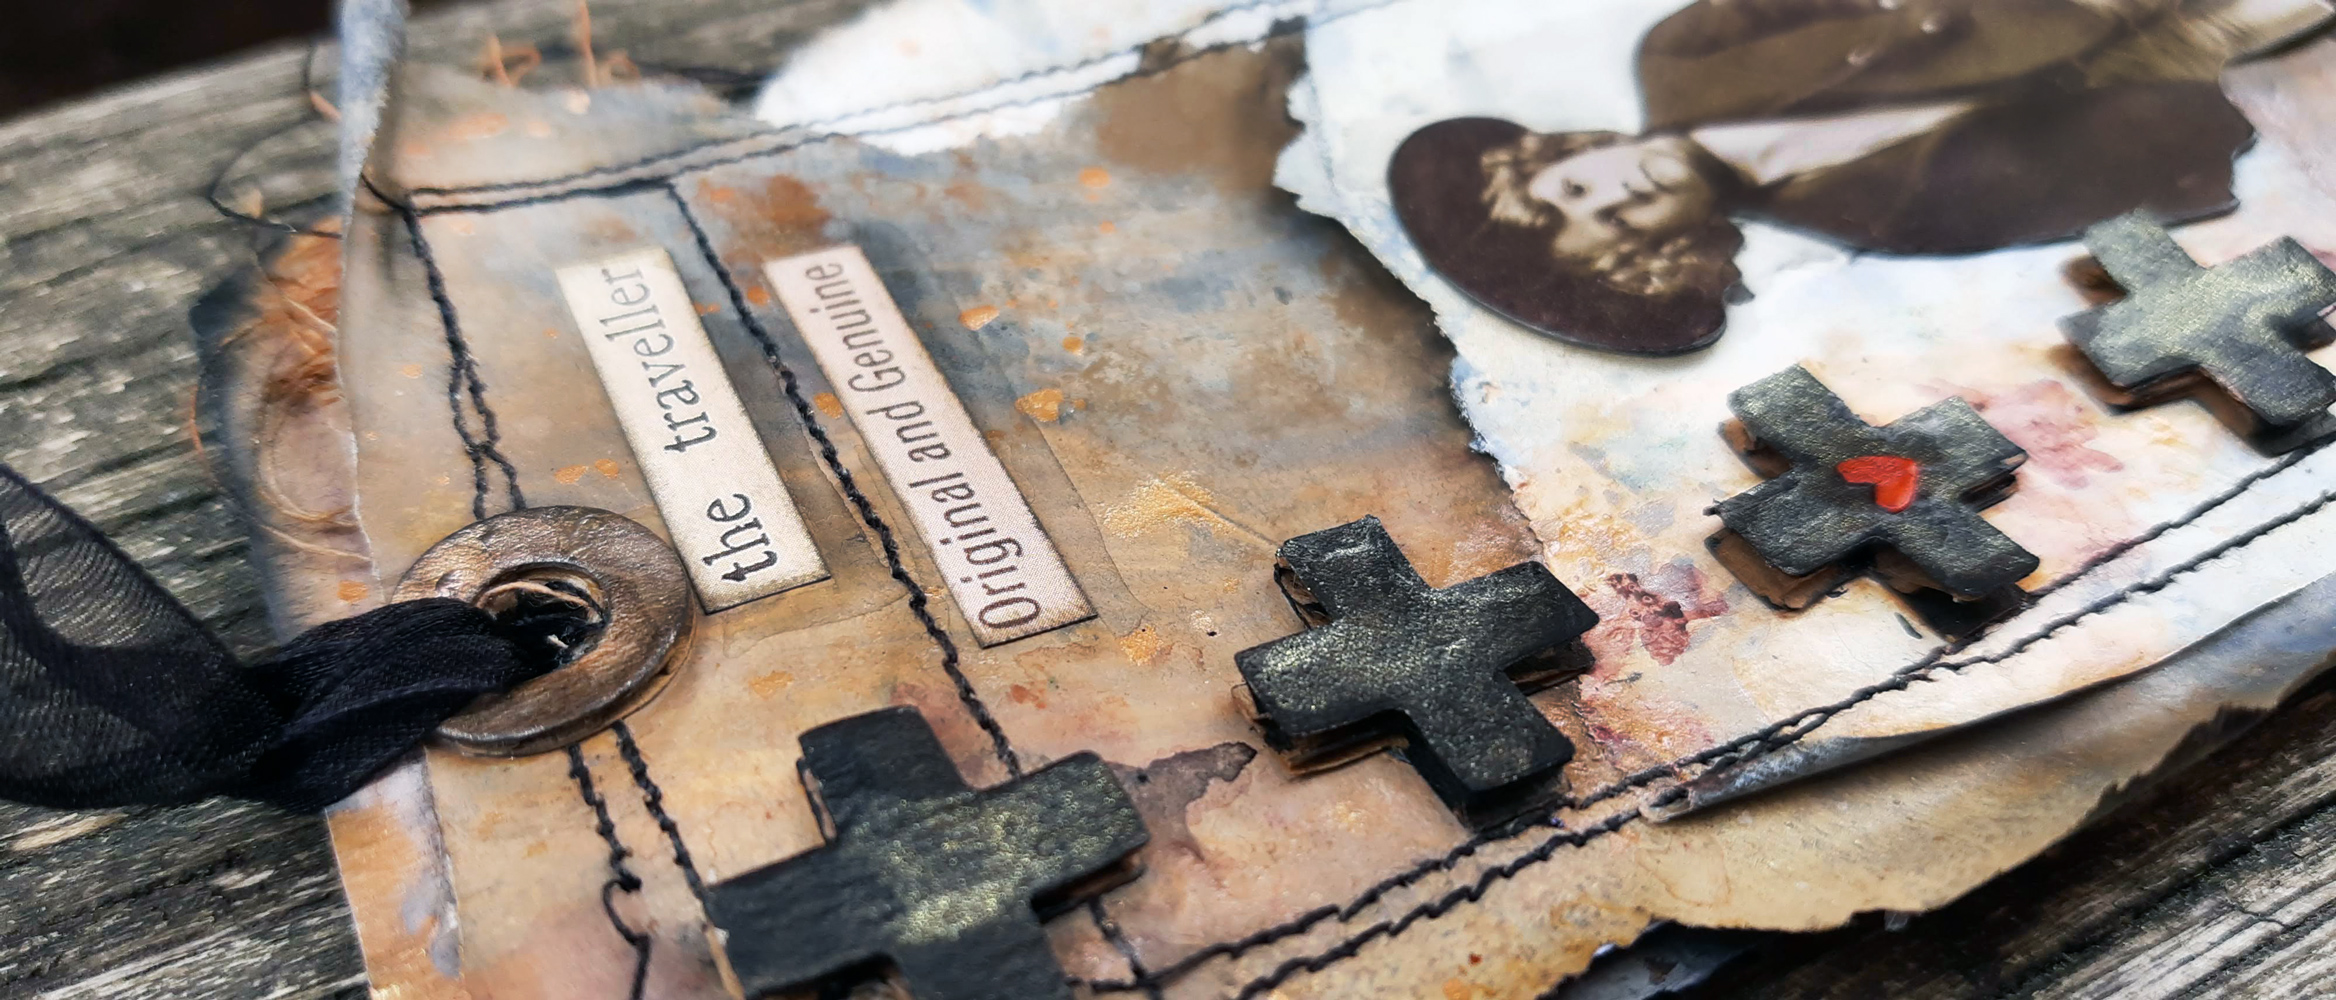
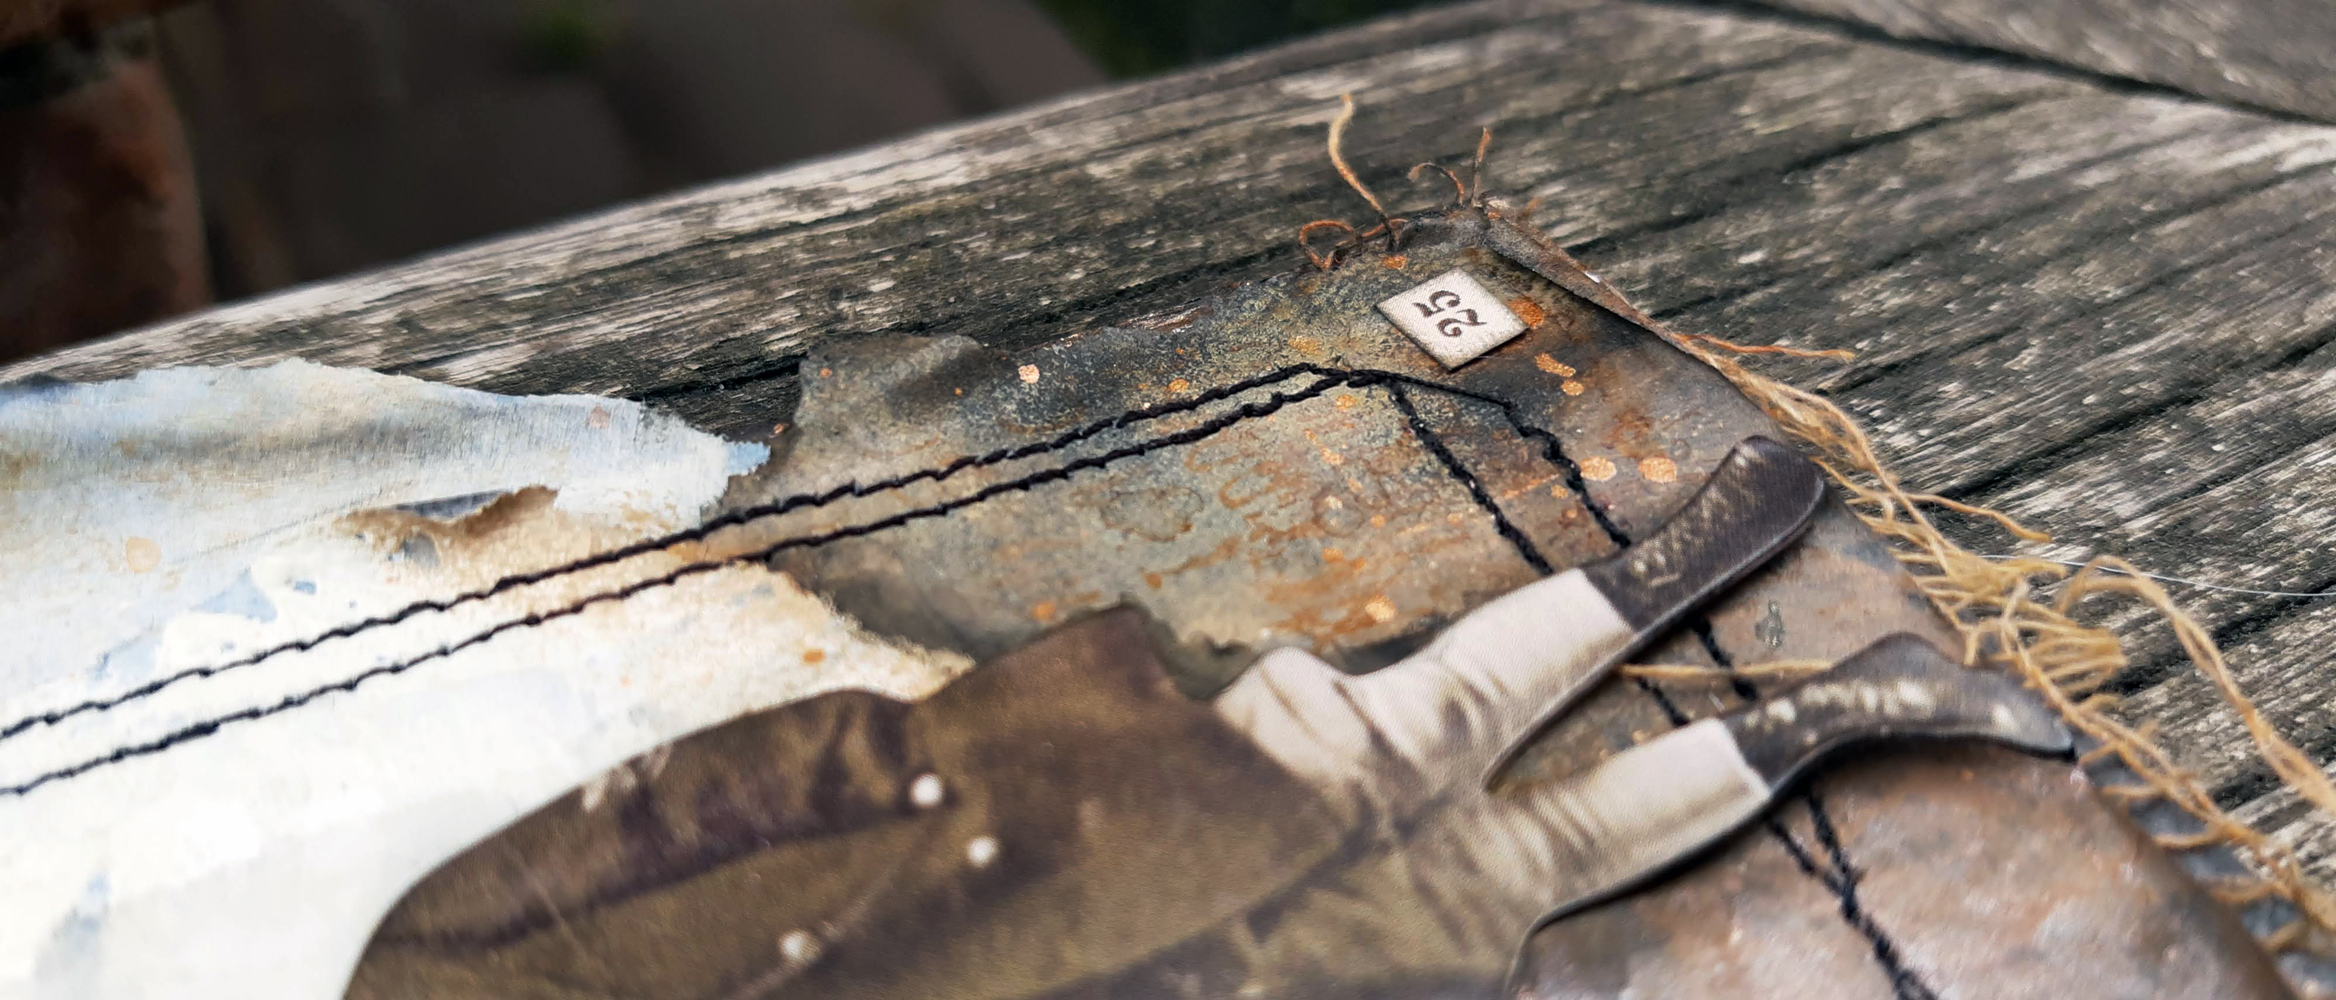
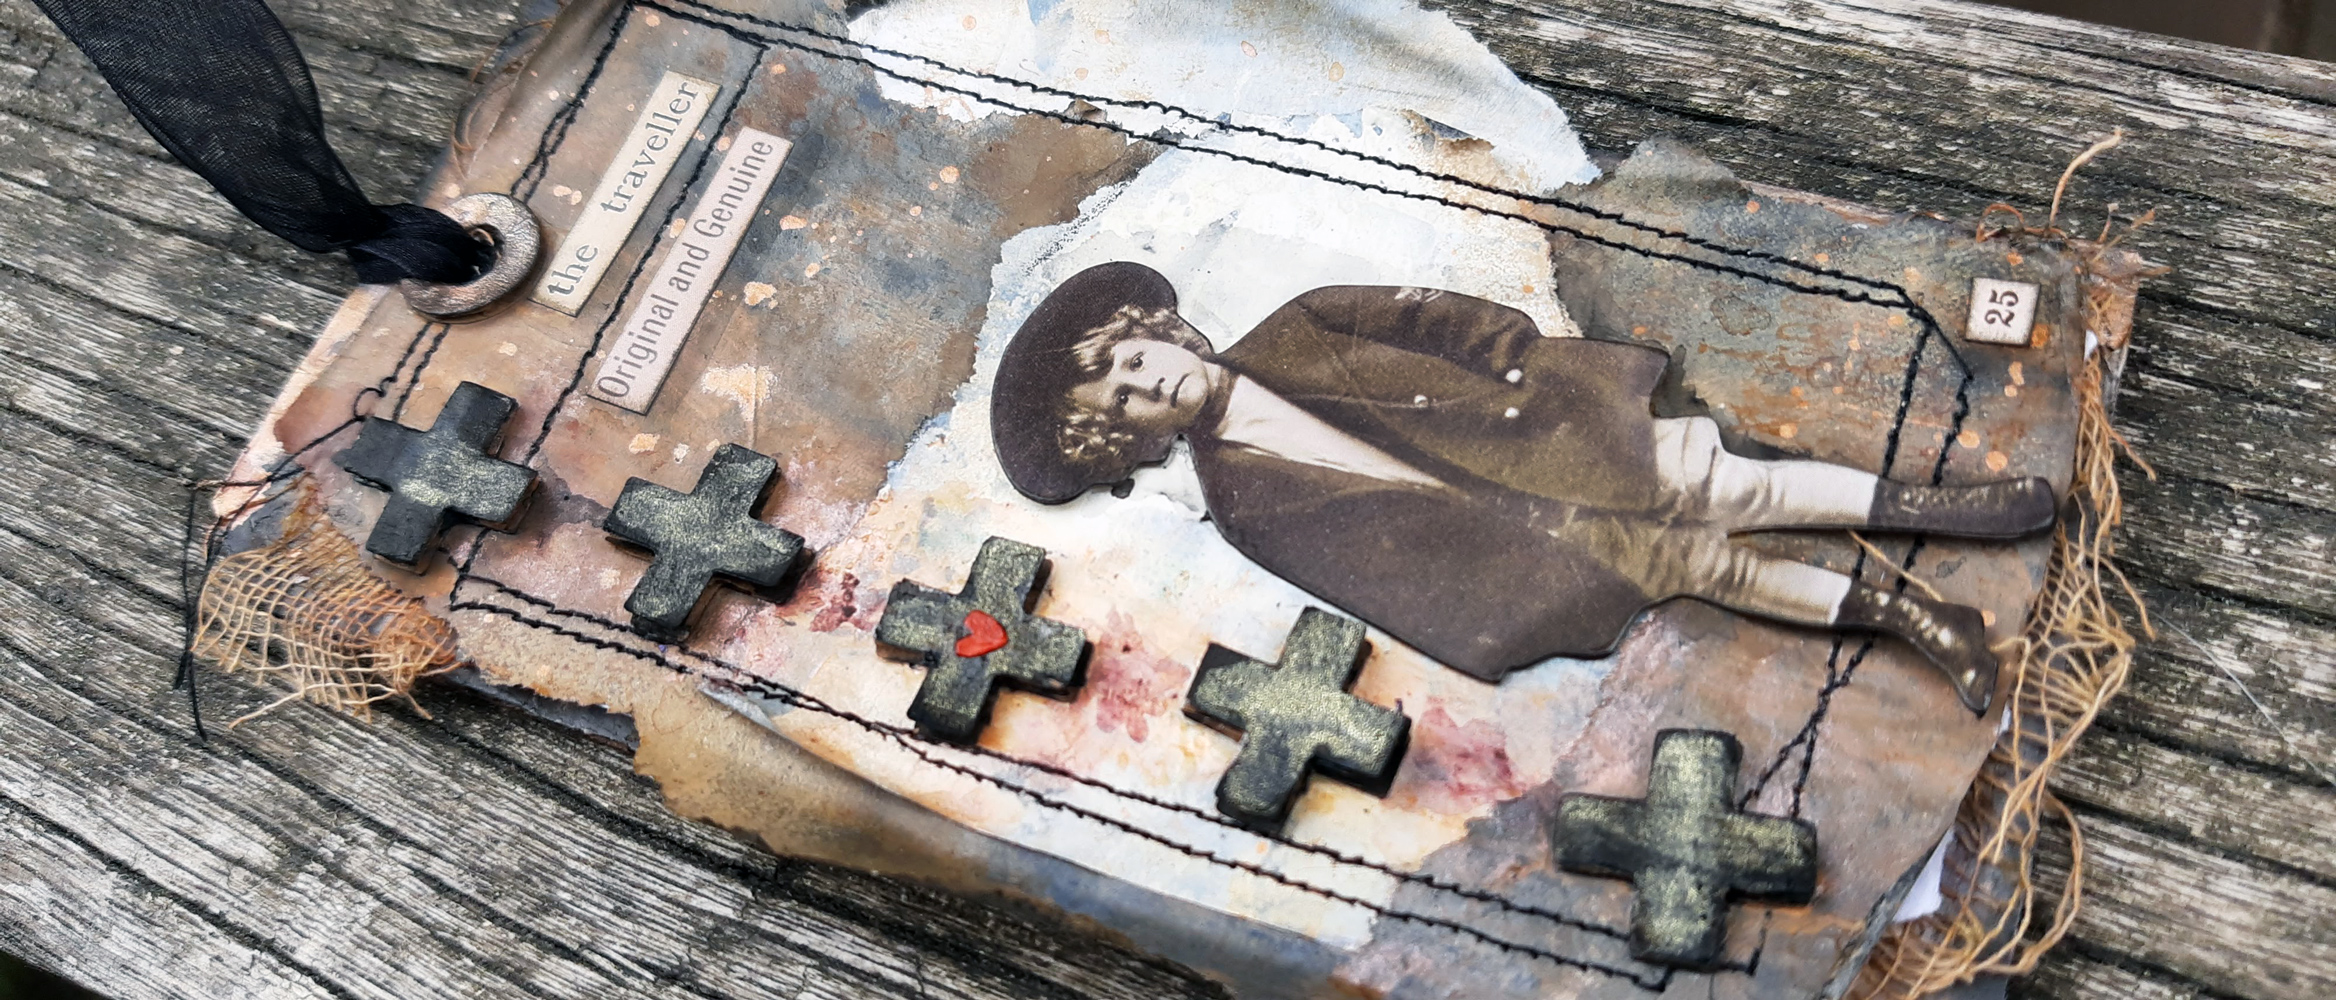
And that’s all for today, If you have any questions, suggestions or if you want to let me know what you think of this project, leave a message!
Stay happy , stay creative…Till next time!
Ciao Zoey
Do you want to support me for free? Share this post!
Ingredients
Paint
- Tim Holtz Flip Top Distress Paint PICKET FENCE Ranger TDF53170
- Tim Holtz Flip Top Distress Paint TEA DYE Ranger TDF53323
- Tim Holtz Flip Top Distress Paint OLD PAPER Ranger TDF53132
- Tim Holtz Flip Top Distress Paint FRAYED BURLAP Ranger TDF53071
- Tim Holtz Flip Top Distress Paint RUSTY HINGE Ranger TDF53217
- Tim Holtz Flip Top Distress Paint ANTIQUED BRONZE Ranger TDF52913
- Tim Holtz Flip Top Distress Paint TARNISHED BRASS Ranger TDF50643
- Tim Holtz Flip Top Distress Paint ANTIQUE LINEN Ranger TDF52906
Inks
- Tim Holtz Distress Ink Pad VINTAGE PHOTO Ranger TIM19527
- Tim Holtz Distress Ink Pad BLACK SOOT Ranger TIM19541
- Tim Holtz Distress Ink Pad RUSTY HINGE Ranger TIM27157
- Tim Holtz Distress Ink Pad GATHERED TWIGS Ranger TIM32823
- Ranger Tim Holtz Distress Crayon RUSTY HINGE TDB49616
- Ranger Tim Holtz Distress Crayons SET 10 TDBK51800
- Ranger Tim Holtz Distress Crayon WALNUT STAIN TDB49654
Media
Tools
- Tim Holtz DISTRESS SPRAYER Ranger 4 Ounces TDA47414
- Ranger MINI ROUND INK BLENDING TOOLS IBT40965
- Ranger Non Stick CRAFT SHEET 15 x 18 Reusable NSC20677
- Dina Wakley Ranger PALETTE KNIFE Media MDA41771
- Ranger EUROPEAN VOLTAGE HEAT IT CRAFT TOOL HIT27089
- Tim Holtz Tonic Craft MINI SNIPS Scissors 816ered
- Tim Holtz Tonic PAPER DISTRESSER Altered Aged Edges 370e
Misc.
